Wheel balancing is a valuable service that is vital for the consistent performance of a car. It ensures that the weight of your vehicle is distributed equally around the wheel area, and that the tyre rotates evenly.
The purpose of wheel balancing is to eliminate vibrations that are caused by uneven weight distribution, which can impact your car’s handling, comfort and tyre wear. In this article, we’ll discuss how to do wheel balancing in a few easy-to-follow steps.
When Do you Need to Get Your Wheels Balanced?
It’s recommended to have your wheels balanced every 5,000-6,000 miles. However, if you notice the following symptoms, you should get your wheels checked immediately:
- Vibrations in the steering wheel
- Uneven tyre wear
- Increased stress on the suspension and steering components
- Poor handling and reduced braking performance
How to Do Wheel Balancing Step by Step
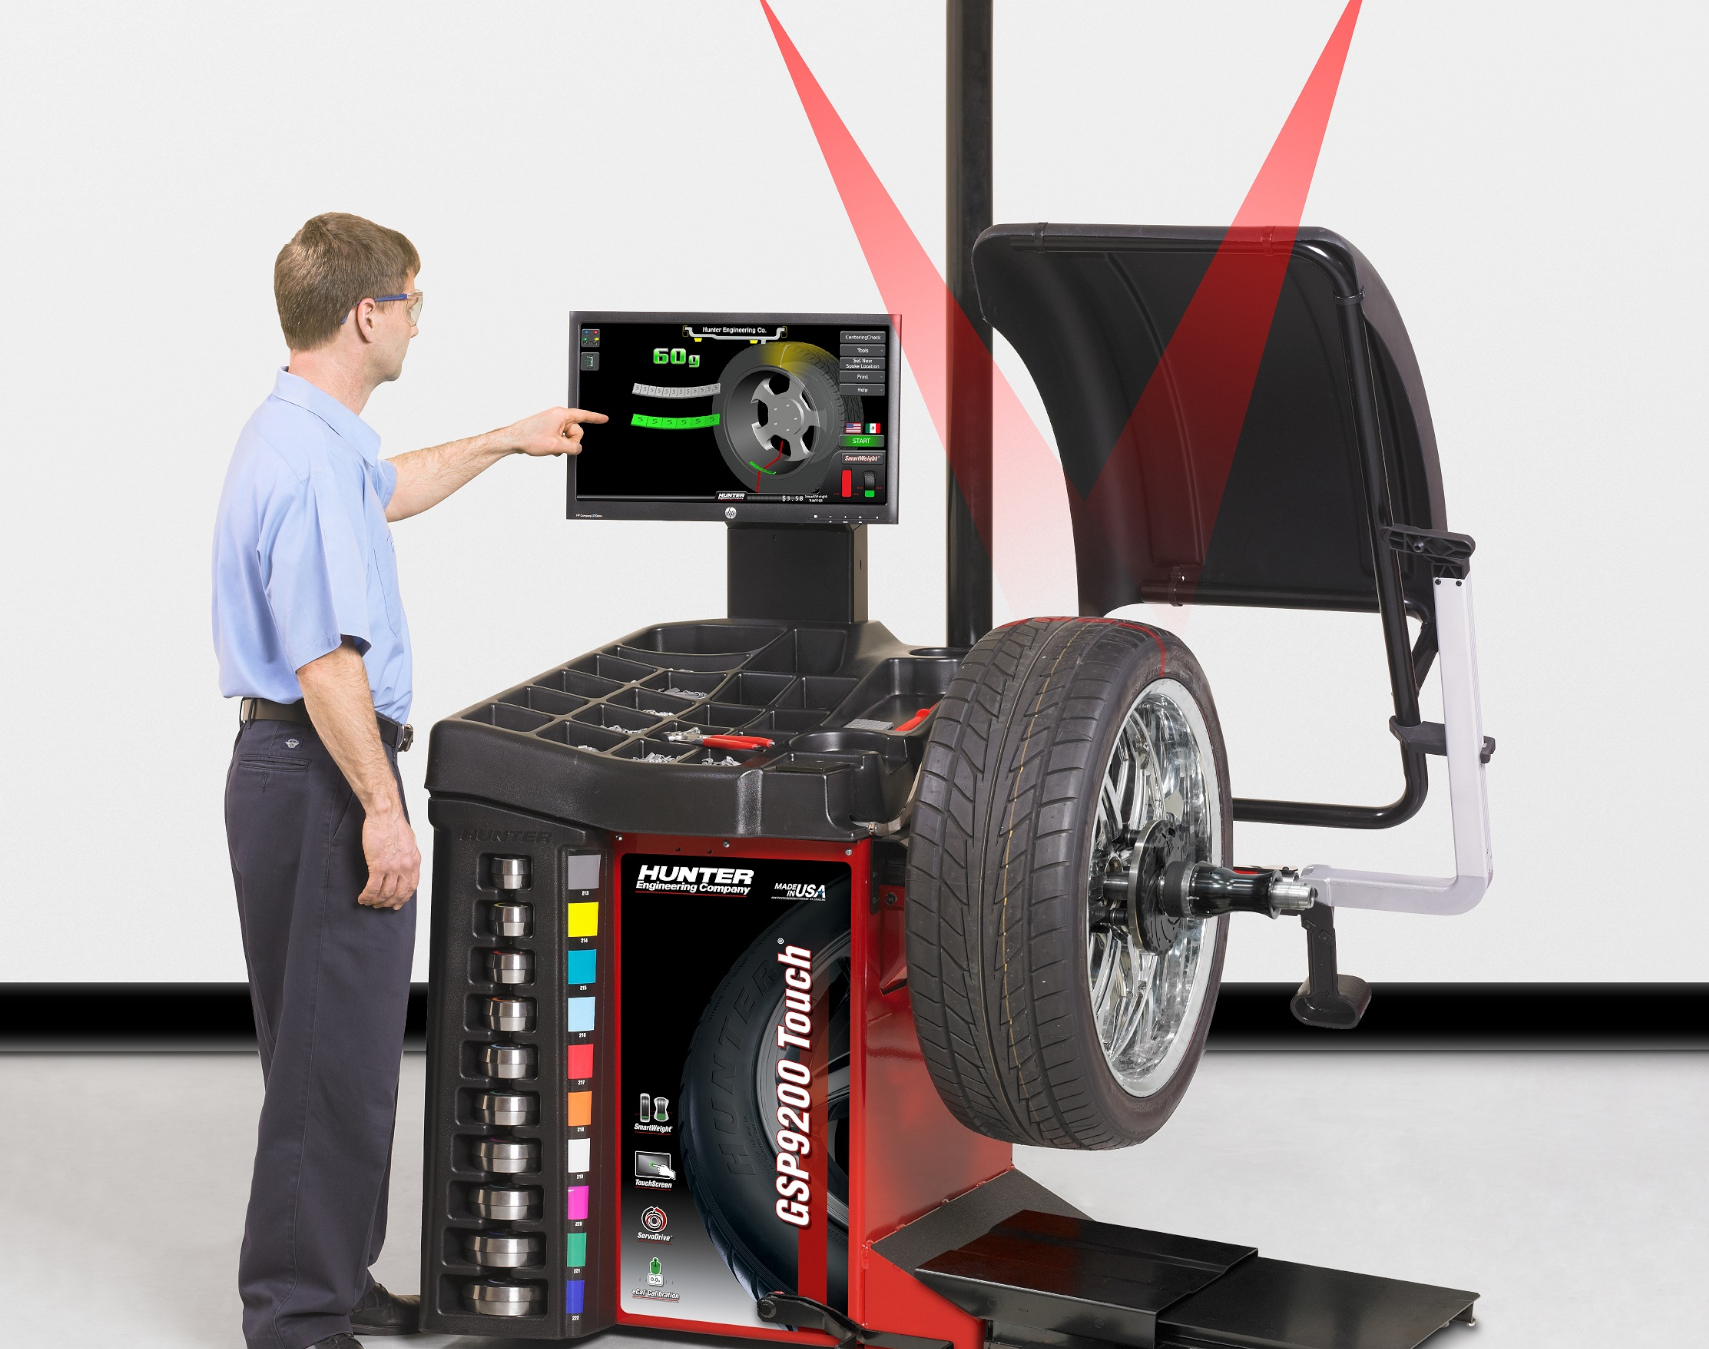
Wheel balancing is done using a specialised machine that measures the weight distribution of the tyre and wheel assembly. The machine indicates where weights need to be removed or added in order to be properly balanced.
Depending on the equipment you have, wheel assemblies are balanced in a number of ways. The following steps outline how to do wheel balancing using a modern, automated machine, like the ones we provide here at Pro Align.
Set up the Wheel Balancer
The first step is setting your wheel balancer up properly. Balancers generally work the same, however you may find variations on display and data acquisition and entry. The three dimensions that wheel balancers require in order to measure the wheel imbalance correctly are:
- The diameter of the wheel
- The width of the wheel
- The distance from the wheel balancer cabinet to the inside edge of the wheel
It’s important to put all three measurements into the machine, so that the wheel balancer knows where the inside and outside edges of the wheel are in relation to the wheel balancer face plate, as well as the height of the rim lip or rim edge from the shaft where the weights will be positioned.
All machines will provide the option of entering the data manually, either with buttons or dials, and most of our Hunter wheel balancers have a patented Vision System.
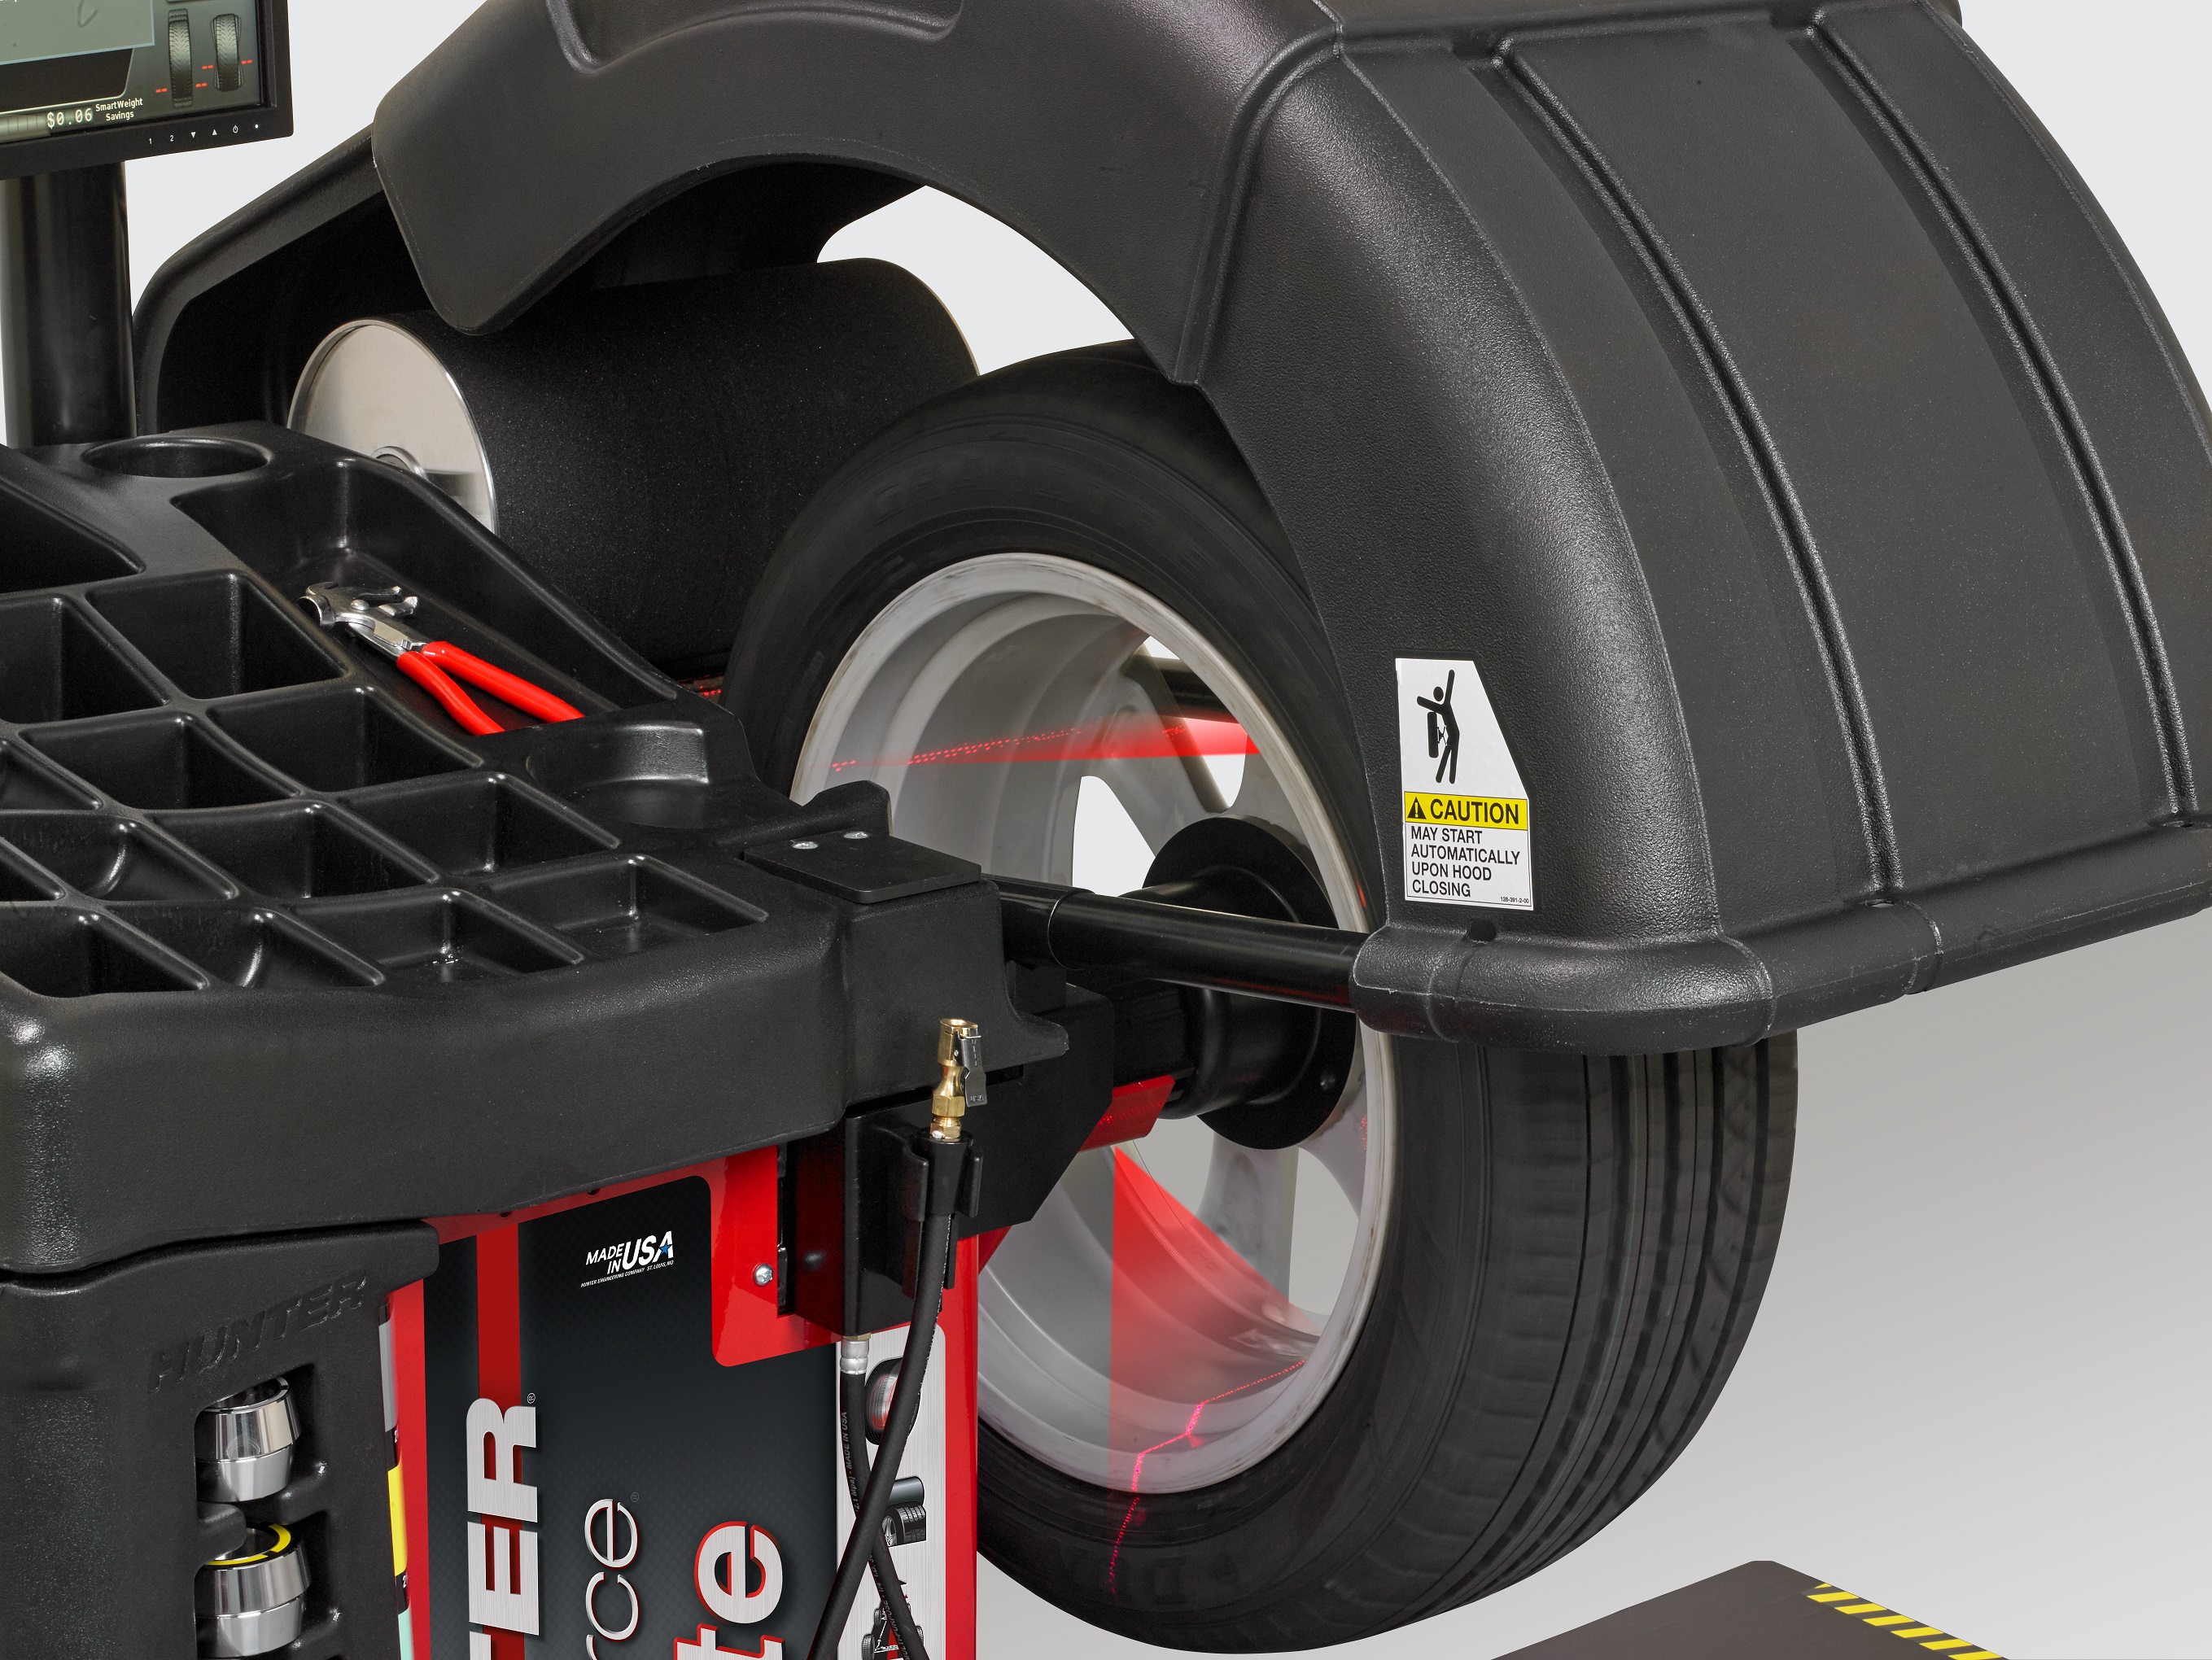
Mount the Tyre
The next step is mounting the tyre. There are three mounting methods, which include:
- Back cone – this method involves fitting the correct cone onto the first shaft, followed by the wheel. It is then locked in place with the locknut and fitted with a clamping hood and protective rubber ring.
- Front cone – this is where you place the wheel onto the shaft, then slide on the centering cone and the lock nut.
- Pin plate – this is an alternative way of securing and aligning an assembly on a machine. This method involves adding the pin plate instead of a pressure cup.
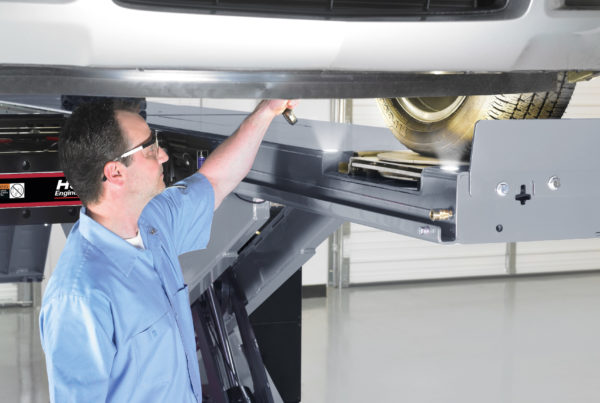
Technicians should be careful to avoid back injury while performing this step, and use a wheel lift to help fit the wheel, as this will reduce manual handling issues.
Finish the Process
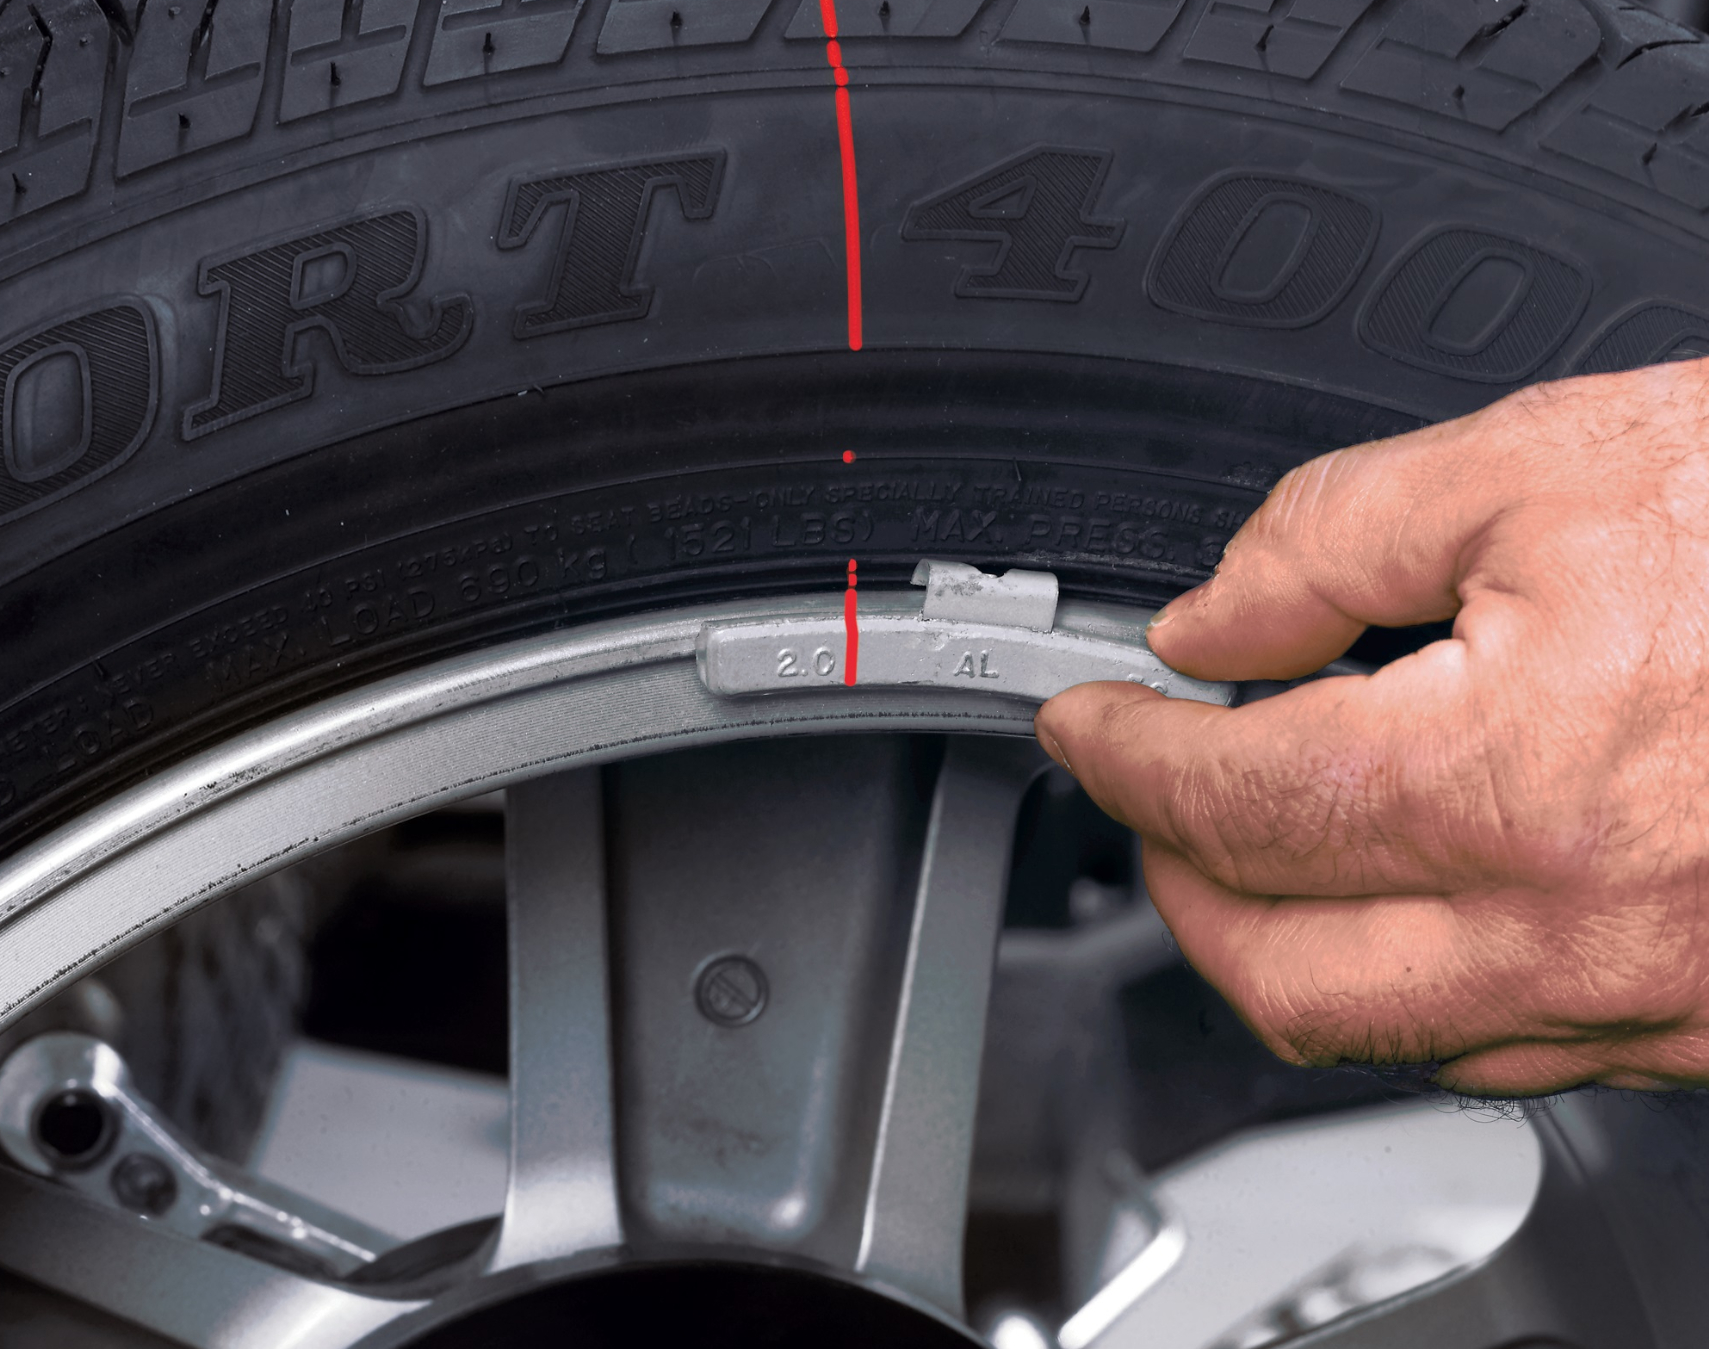
After you have inputted the three dimensions and mounted the wheels, you can continue with the final step, which is to choose the wheel balancing program. You can opt for the ‘knock on’ or stick on’ weights, to suit the wheels you’re balancing.
Ensure all the previous wheel balance weights have been removed, and then start the measuring run and let the machine spin the wheel up. Once this is completed, your wheel balancer will calculate how much imbalance there is and display the weight that will be needed in order to balance it properly.
Once you have fitted the weights required on both planes, you can start another measuring run. If the wheels are properly balanced, your wheel balancer will indicate zero on both weight planes. With traditional balancers, this is not always straight forward. However, with a Hunter balancer, this won’t be an issue.
If you are using a traditional balancer, follow these steps:
When to Add Weight
If the weight reading is locked into position and the wheel weight fitted is located at in the 12 o’clock position (or near), add the appropriate amount of weight by removing the weight and fitting another to fit the amount required.
For example, if the previous weight was 15 grams, and the new weight shows 5 grams, you’ll need to remove the 15 gram weight and replace it with 20 grams.
When to Remove Weight
If the weight reading is locked into position and the wheel weight fitted in the balancing run is positioned opposite 12 o’clock (at a 6 o’clock position), or near, then you need to remove the appropriate amount of weight and fit the amount that is needed.
For example, if the previous weight was 20 grams, and the new weight shows 5 grams, you’ll need to remove the 20 gram weight and replace it with 15 grams.
The Final Word on How to Balance Wheels
Wheel balancing is a serious business that shouldn’t be taken lightly, and you need to ensure you’re using the correct machinery. At Pro Align, we offer a diverse selection of high quality wheel balancing equipment that is suitable for workshops of all sizes and workloads.
Browse the Road Force Elite, which is the fastest wheel balancing tool on the market and delivers superior balance in minimal time. You can also find the Hunter SmartWeight Pro Wheel Balancer, which is a cost-effective option with a small footprint, and is perfect for any vehicle workshop starting their Hunter balancing journey.
We’ve discussed the steps on how to balance wheels to ensure your vehicle is safe, and performs at its optimum level. Contact us today for more information, and to find high-calibre wheel balancing equipment.